获取代码
1 | git clone https://github.com/google/clusterfuzz |
处于稳定性考虑,建议使用最新的发行版本,而不是master分支
1 | git checkout tags/vX.Y.Z |
通过git tag -l或者在github上面可以看到发行版本
1 | $ git tag -l |
我用v2.0.1
1 | git checkout tags/v2.0.1` |
依赖
首先谷歌建议使用python 3.7,python2已经不支持
1 | $ python butler.py |
安装python 3.7:
1 | apt-get install -y apt-transport-https software-properties-common build-essential git curl \ |
安装golang
1 | sudo add-apt-repository ppa:longsleep/golang-backports |
修改./local/install_deps_linux.bash中的 bower install 为bower install --allow-root(因为bower install的时候默认不允许root用户)
最后执行./local/install_deps.bash
1 | ./local/install_deps.bash |
环境搭建
运行python3.7 -m pipenv shell即可进入clusterfuzzer需要的环境
我们运行python butler.py,就看到所有功能了
1 | usage: butler.py [-h] |
初始化
第一次运行,初始化数据,试了下跟python butler.py bootstrap执行的功能一样。。。
1 | python butler.py run_server --bootstrap |
假如不是第一次就直接
1 | python butler.py run_server |
如果依赖早已安装好,使用下面的就可以跳过依赖的再次安装
1 | python butler.py run_server --skip-install-deps |
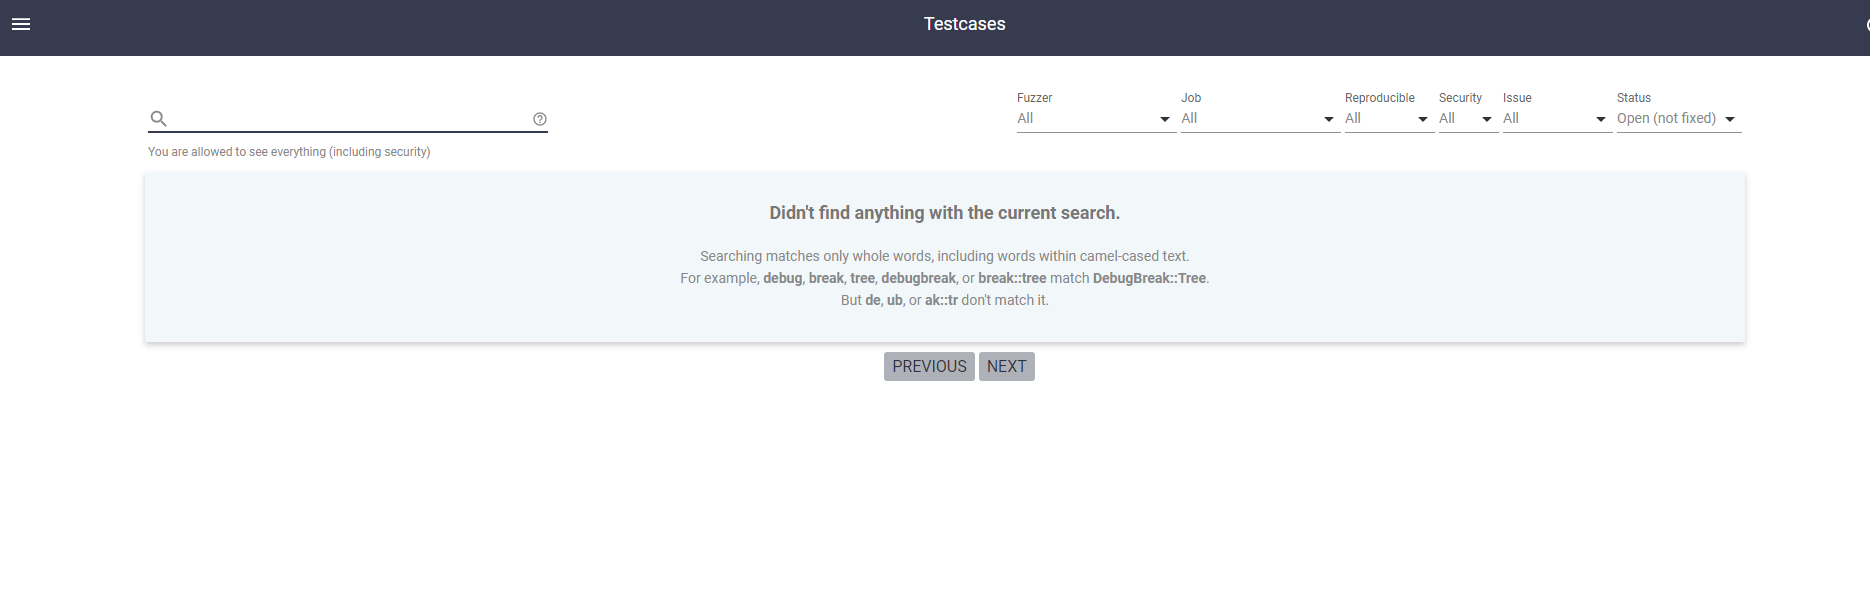
最后终于起来了,访问9000端口即可
1 | $ python butler.py run_server --skip-install-deps |
访问9000端口如下:
之后启动botpython butler.py run_bot --name my-bot /path/to/my-bot,比如下面
1 | python butler.py run_bot --name my-fuzzing-bot `pwd`/my-fuzzing-bot |
有时候空闲运行时间过长就退出了
1 | [1] 1446 killed python butler.py run_bot --name my-fuzzing-bot `pwd`/my-fuzzing-bot |
我们执行
1 | python butler.py run_bot `pwd`/my-fuzzing-bot |
1 | $ python butler.py run_bot `pwd`/my-fuzzing-bot |
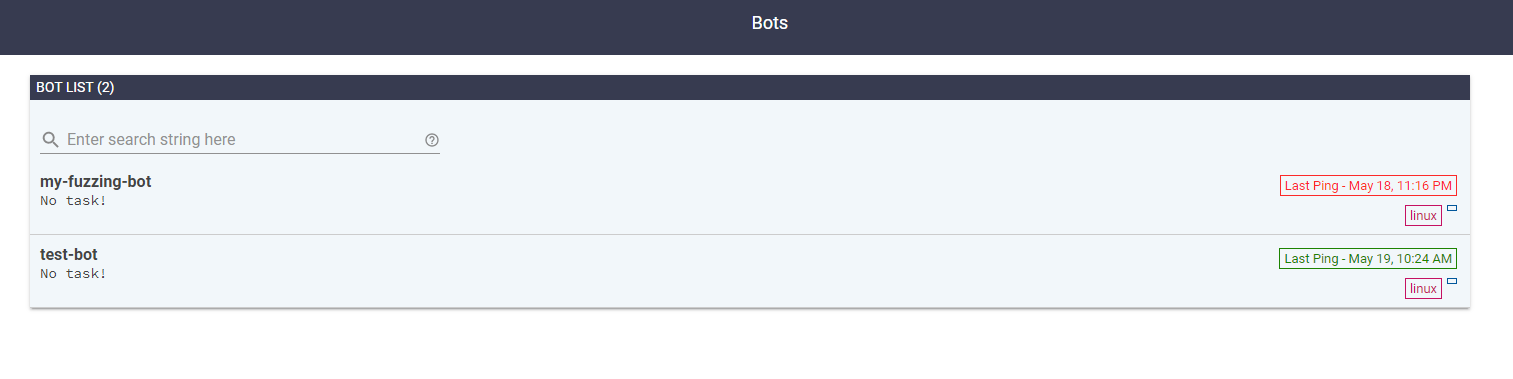
在网页上也可以看bot的状态
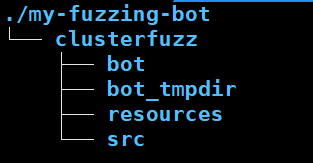
可以看到bot应该是将clusterfuzz复制了一份
查看bot的log
1 | cd /path/to/my-bot/clusterfuzz/bot/logs |
可以看到先由于没有fuzzing任务所以显示Failed to get any fuzzing tasks
1 | $ tail bot.log |
实际fuzz实例
ClusterFuzz支持覆盖率指导的模糊测试(libfuzzer和afl)和黑盒测试
接下来我们以心脏出血漏洞Heartbleed为例
使用这个平台,我们首先的编译出自己的fuzzer或者二进制程序
文档已经提供了针对OpenSSL的构建libfuzzer的代码,这样我们就得到了openssl-fuzzer-build.zip
1 | # Download and unpack a vulnerable version of OpenSSL: |
之后回到平台(9000端口那个),来到Jobs,看到ADD NEW JOB表单
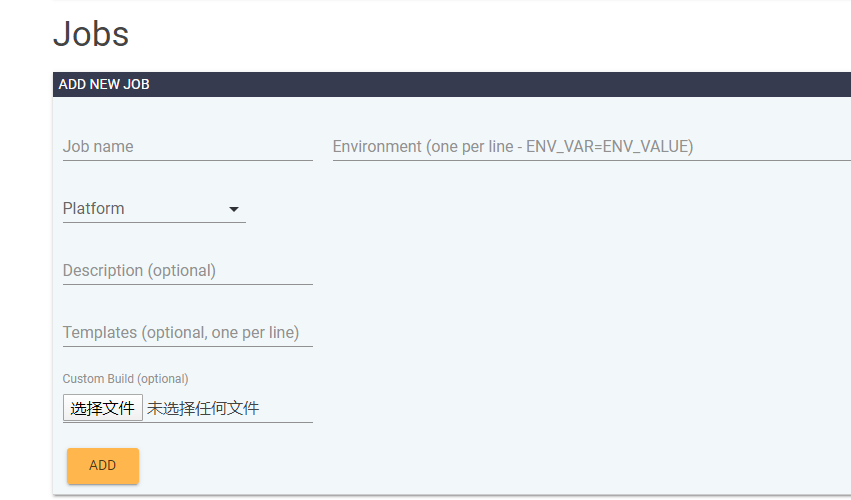
依次填写:
1 | “libfuzzer_asan_linux_openssl” for the “Name”. |
其中CORPUS_PRUNE = True是开启语料库修剪
最后将我们openssl-fuzzer-build.zip选择文件,再add即可
下面这个是之前忘记装go,导致模板没有导入
1 | 但是报错,Invalid template name |
到后面是上传压缩包失败,抓包好像是请求是发给localhost的gcs的,但是服务器在远程,那当然失败了
所以在服务器那边装个图形界面,终于ko了
还有一个解决方案,就是修改代码,让gcs监听0.0.0.0,请求的url也相应修改
https://github.com/lookfwd/getting-started-clusterfuzz-local-in-aws
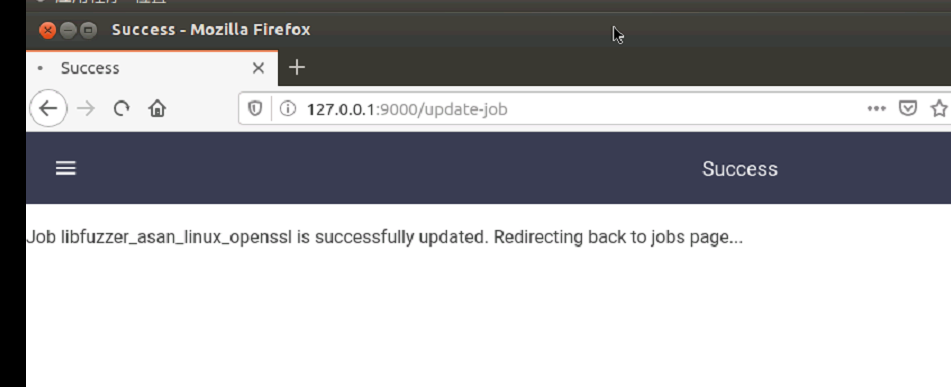
上传成功后,就可以来到Fuzzer页面,选择libfuzzer那行的edit,将我们新建的jobs勾选上,之后提交即可
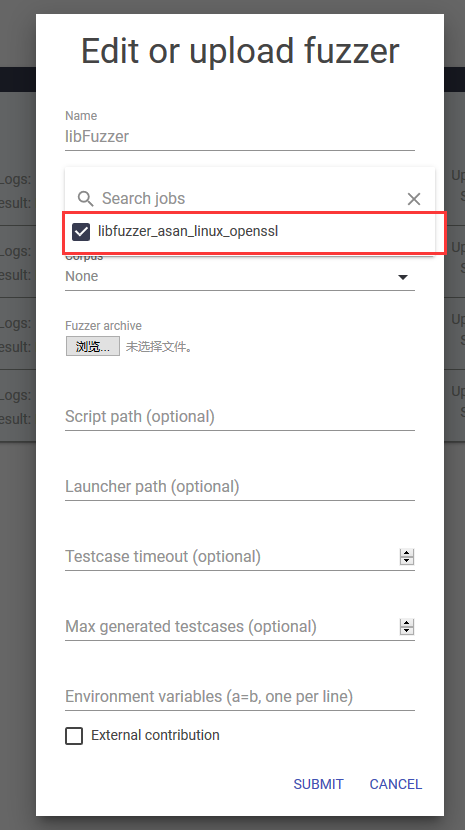
可以看到libfuzzer这里也有updated

查看bot这里,可以看到my-bot2先拿到了任务
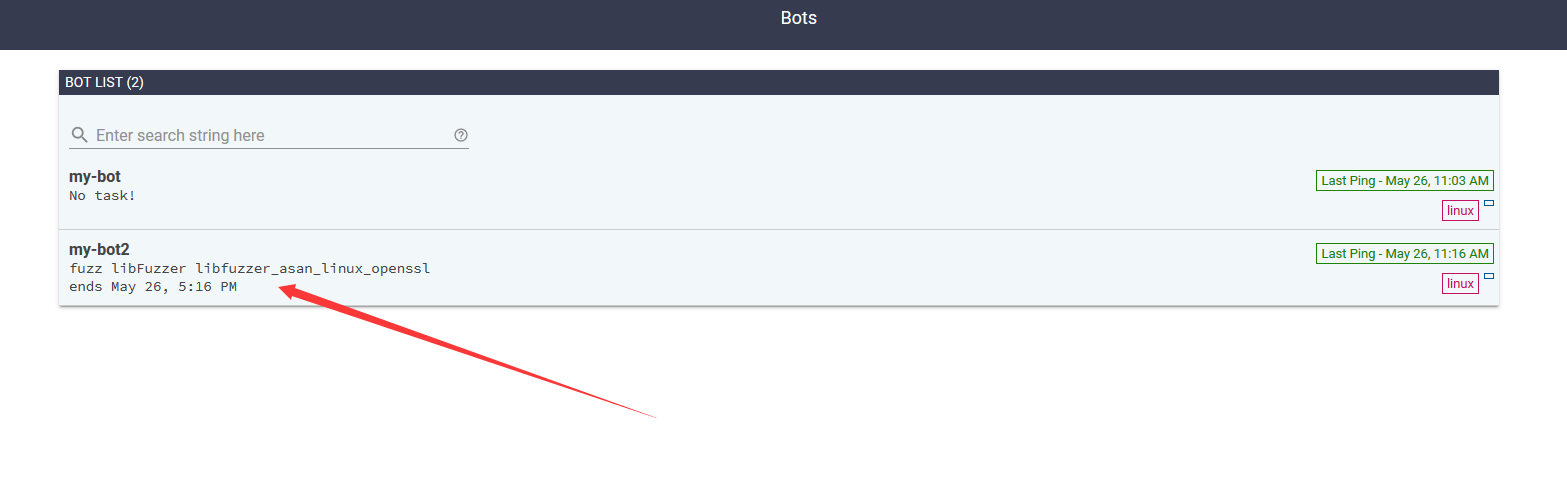
从log也可以看到
1 | $ tail ./my-bot2/clusterfuzz/bot/logs/bot.log |
但是报错了,ERROR - libFuzzer: engine encountered an error (target=handshake-fuzzer).
1 | $ tail bot.log |
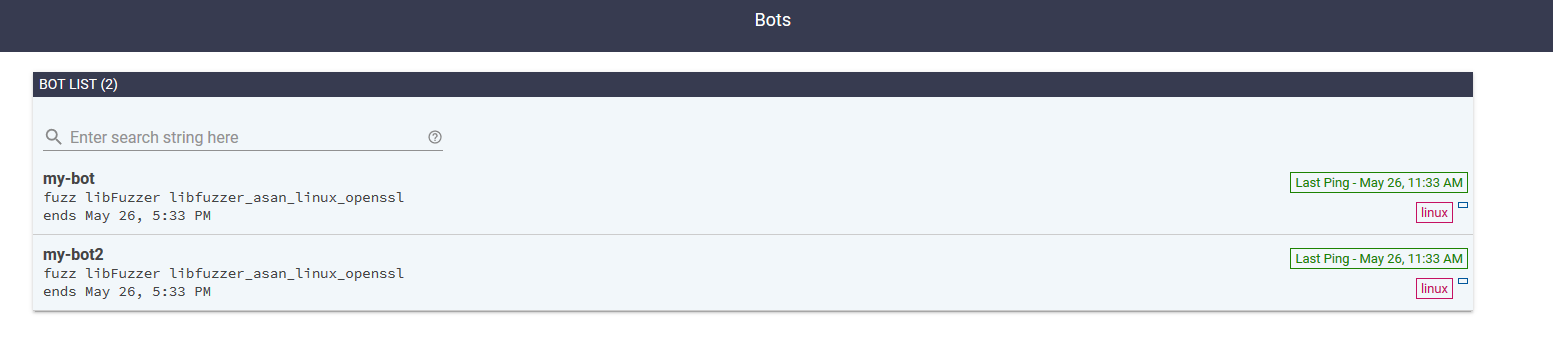
后来又分配给第一个bot了
一直没结果,我就换了一个简单的程序,命名项目为libfuzzer_asan_my_project
1 | #include <stdint.h> |
提交后,不一会就有minimize任务了
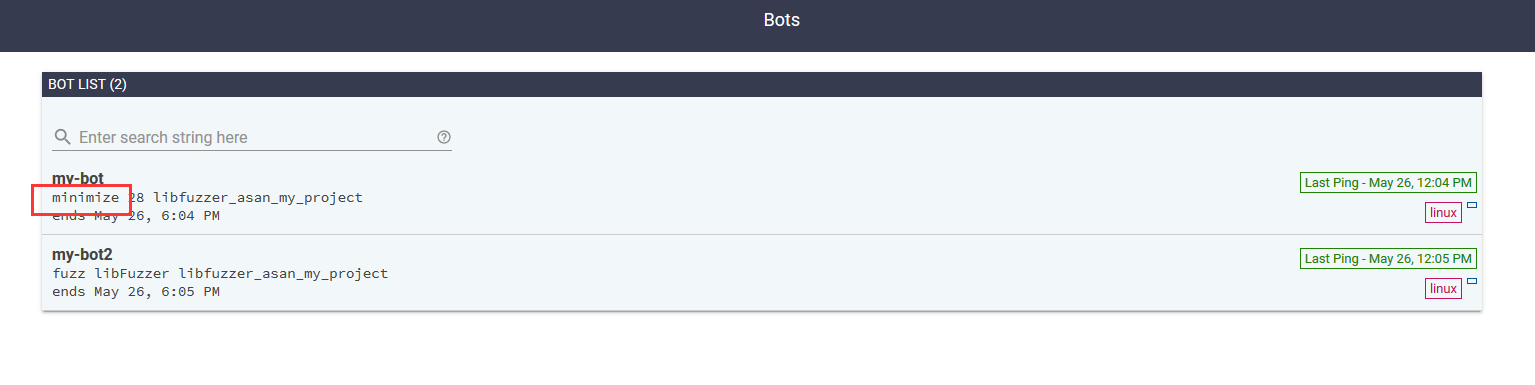
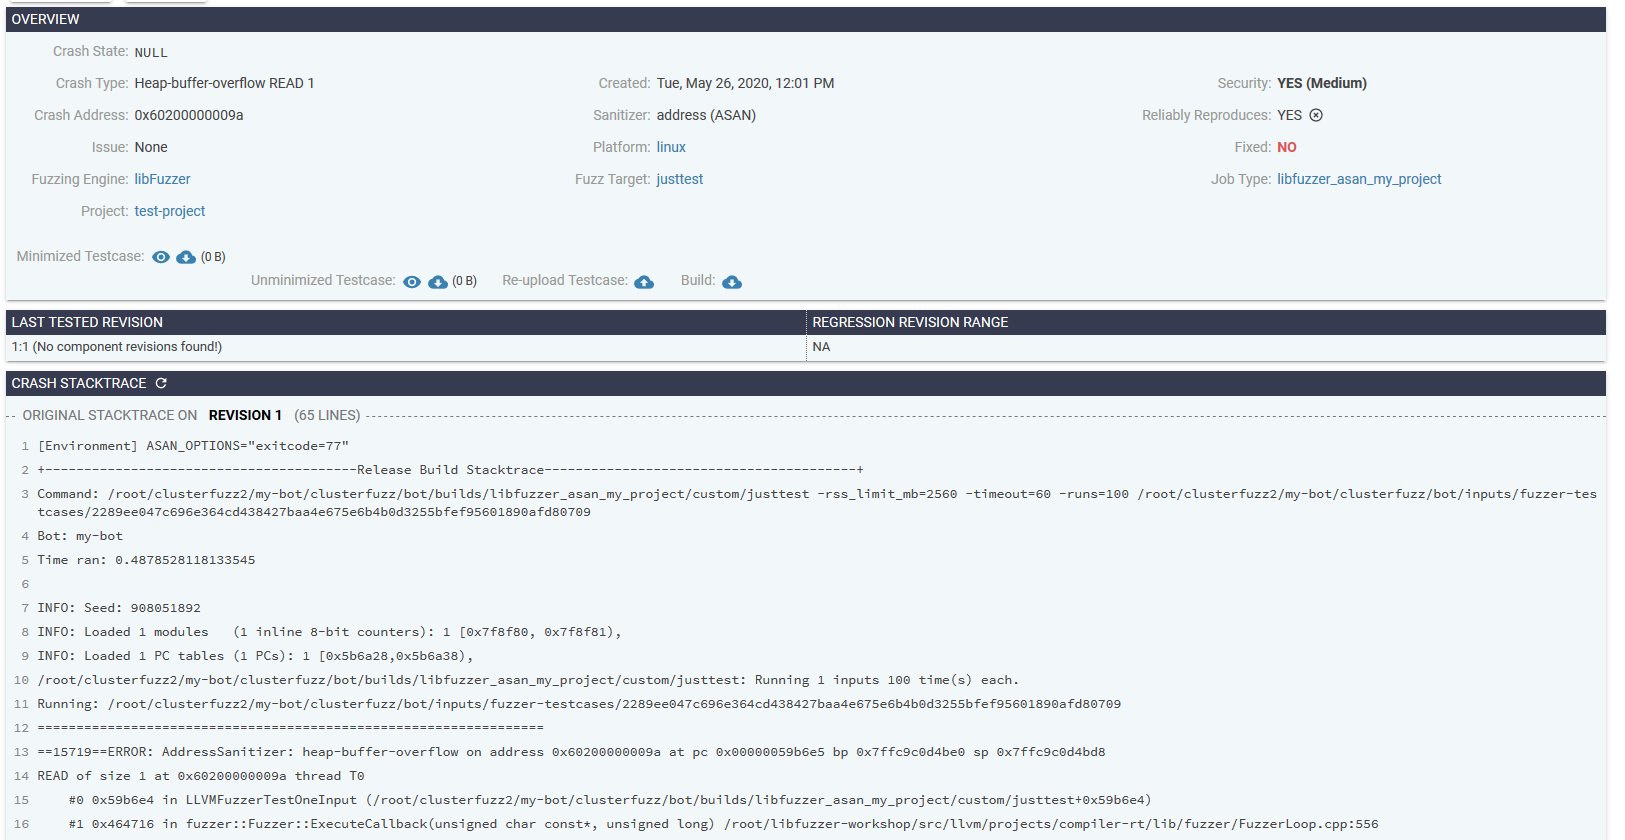
这个简单程序的结果就出来了

点进去可以查看更多信息
参考
https://google.github.io/clusterfuzz/
https://github.com/lookfwd/getting-started-clusterfuzz-local-in-aws