实验环境
Visual Studio 2017 (你也可用更加新的版本)
git
perl
cmake
git
windows 10
DynamoRIO-Windows-8.0.0-1.zip
注意好像win10需要DynamoRIO 8.0.0以上
上面的都搞好后,下载winafl
1 | git clone --recursive https://github.com/googleprojectzero/winafl.git |
编译32位,打开x86,64位打开x86_x64
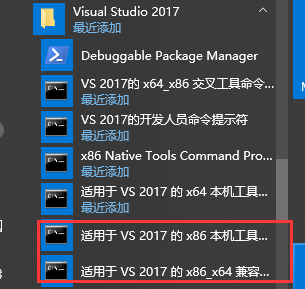
以64为例
1 | D:\Program Files (x86)\Microsoft Visual Studio>cd D:\Temp\test\winafl |
程序就在build64\bin\Release里面
使用test_gdiplus.exe进行测试,通过ida查看main函数是sub_1400010E0,偏移是0x10e0,这个编译器不同,偏移肯定不同
再搞一个1.bmp的测试文件
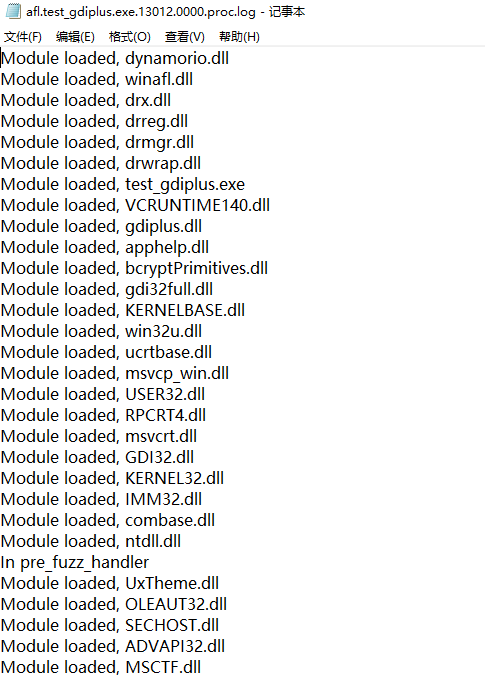
先用drrun测试一下,没有报错
1 | D:\Temp\DynamoRIO-Windows-8.0.0-1\bin64\drrun.exe -c winafl.dll -debug -target_module test_gdiplus.exe -target_offset 0x10e0 -fuzz_iterations 5 -nargs 2 -- test_gdiplus.exe 1.bmp |

还生成了一个log,那基本应该没啥问题了
那可以上afl了,新建一个in目录,放1.bmp进去
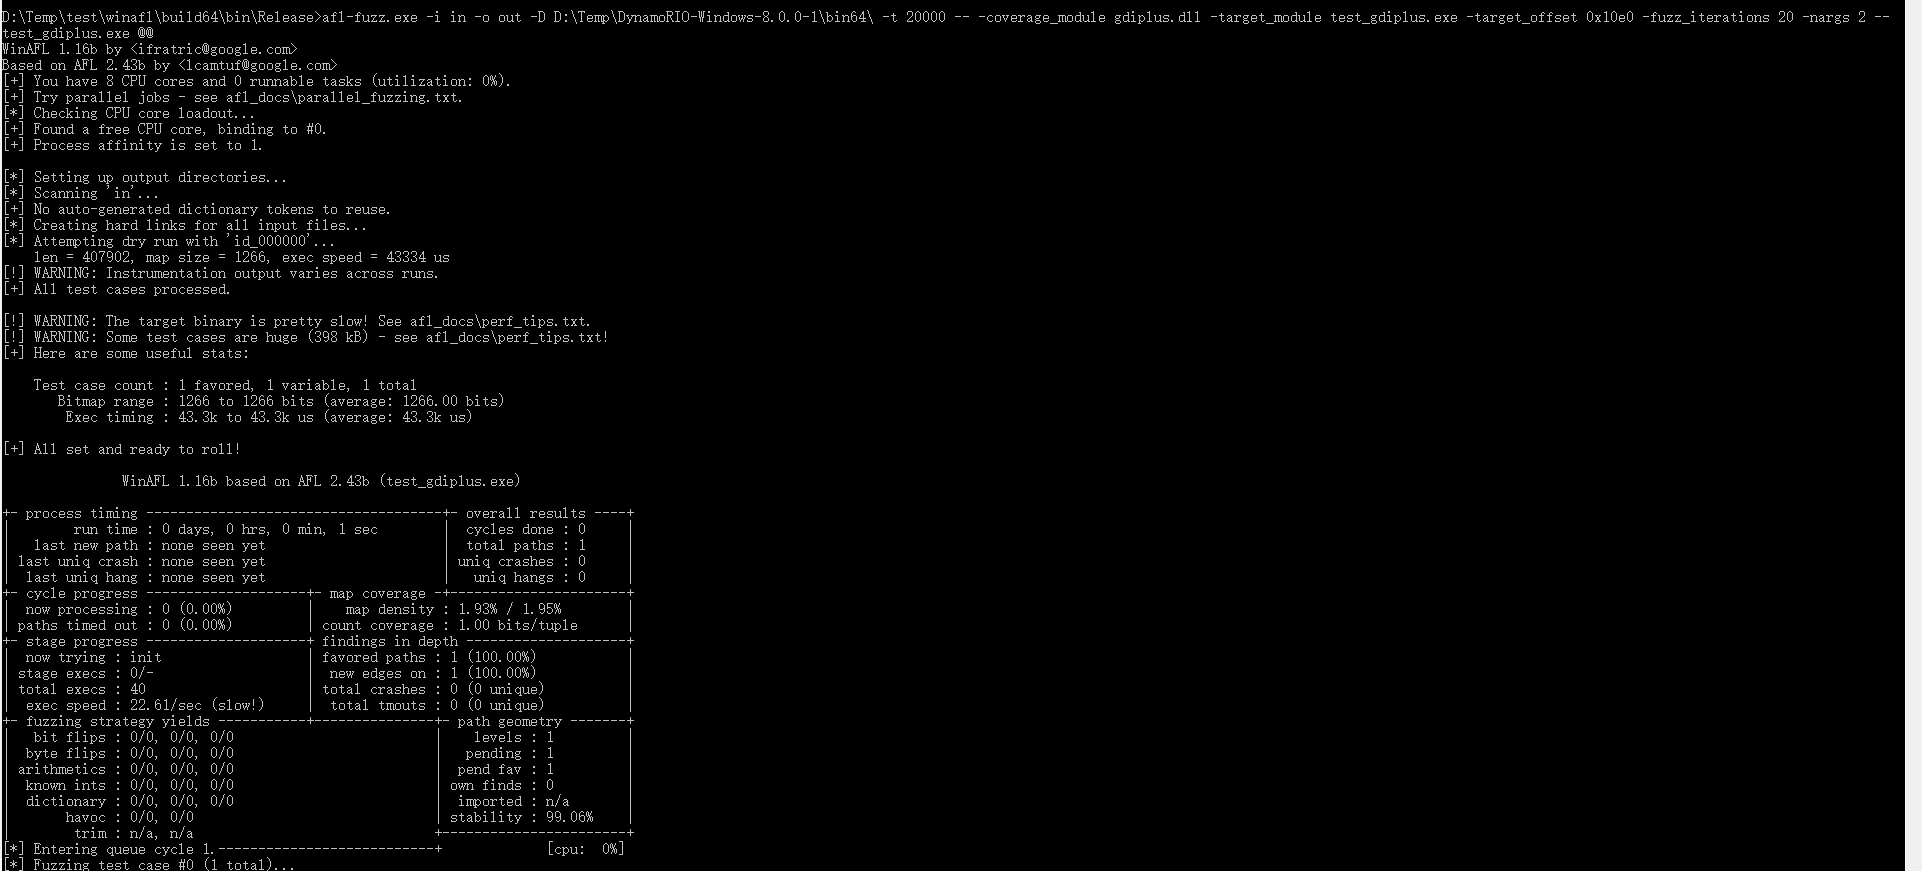
1 | afl-fuzz.exe -i in -o out -D D:\Temp\DynamoRIO-Windows-8.0.0-1\bin64\ -t 20000 -- -coverage_module gdiplus.dll -target_module test_gdiplus.exe -target_offset 0x10e0 -fuzz_iterations 20 -nargs 2 -- test_gdiplus.exe @@ |